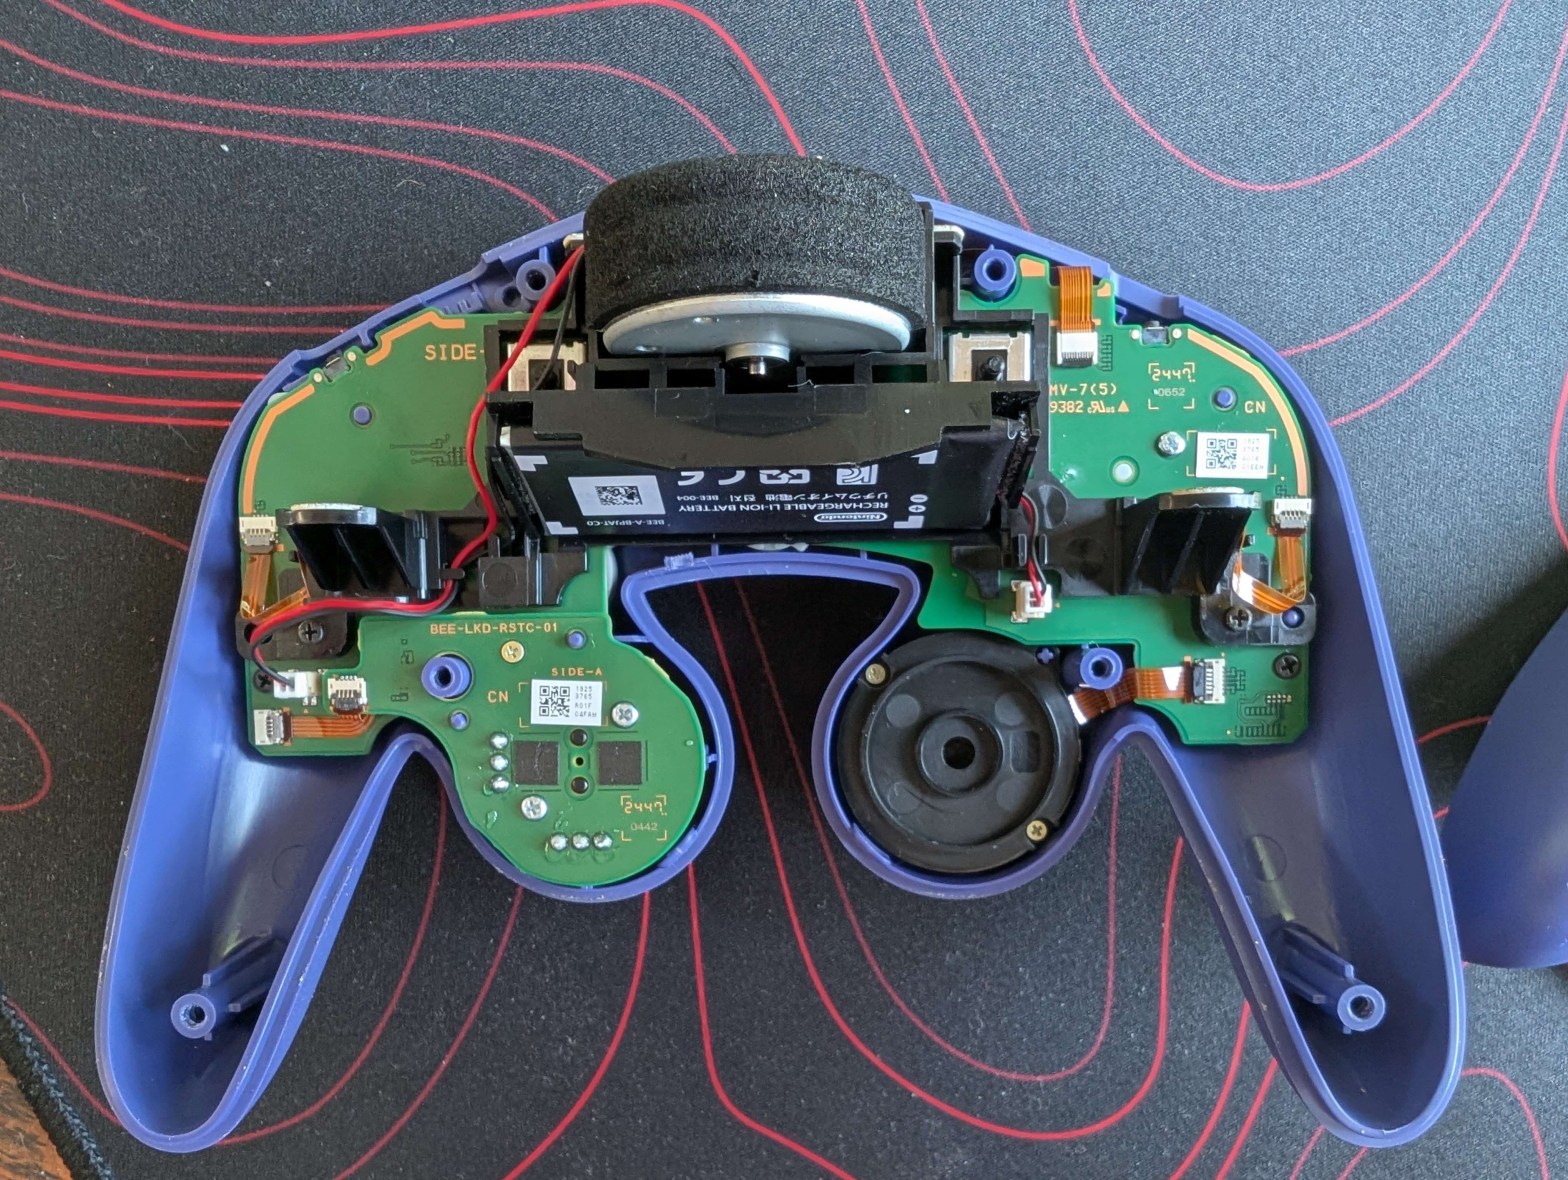
It’s finally out, and while I haven’t go my hands on it yet, Megamoose from the CGCC discord server shared a ton of pictures with me to make this teardown possible. So huge thanks to you!
The first thing to note here is the sheer amount of screws this thing holds – about 23 of them compared to 8 on the original. It’s like Nintendo was trying to stop us from opening it. Also, it is completely re-engineered. The exterior is similar but a lot of issues from the original have been fixed or improved, there are a lot of new things going on in there. So let’s get to it.
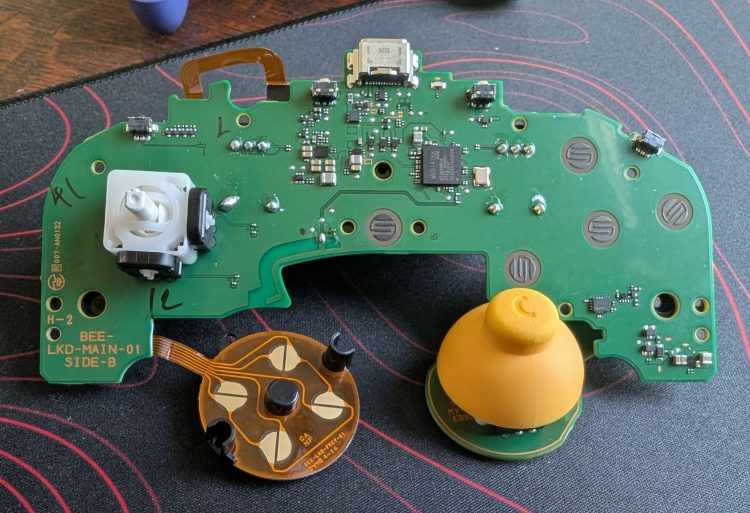
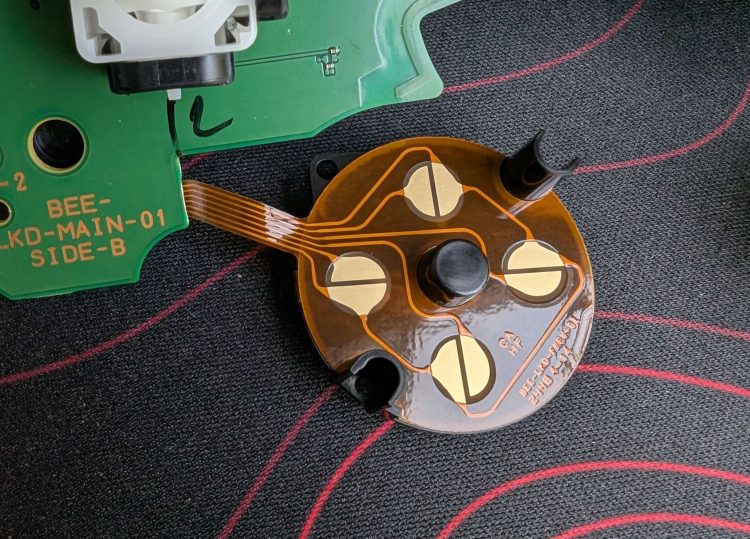
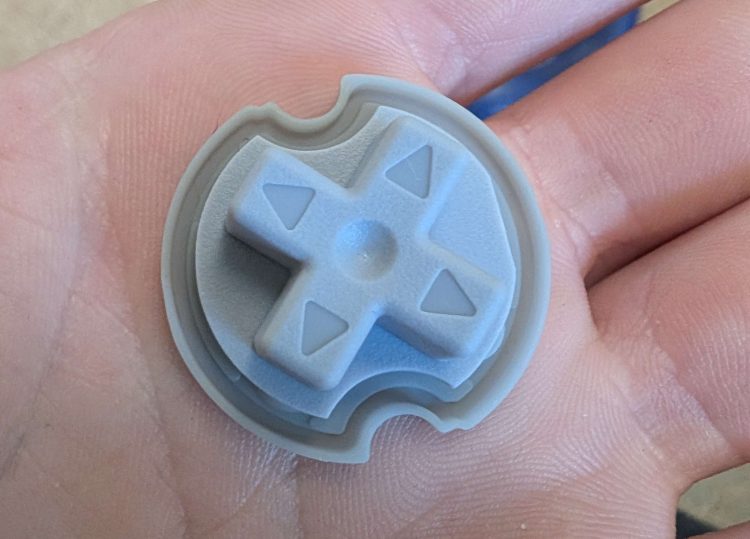
First of all, the controller still uses the white plastic T3 stickboxes, so you can expect the same feel as the original. One thing you will notice right away is the weird D-pad circuit board. The old controller had an issue with flexing, they fixed that up by screwing a plastic support right into the front shell and it’s using a ribbon cable instead for the button traces. So that’s one big thing fixed. The D-pad button and rubber pad however are not compatible with the original controller.
Next big change is the triggers mechanism. The idea is similar but every part has been redesigned. They added some foam parts onto the buttons and triggers tube to dampen the sound, and they added a rubber o-ring in the mechanism.
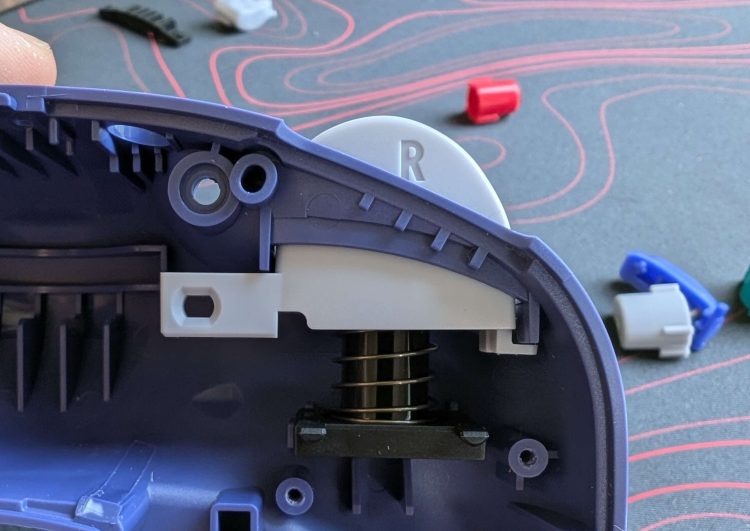
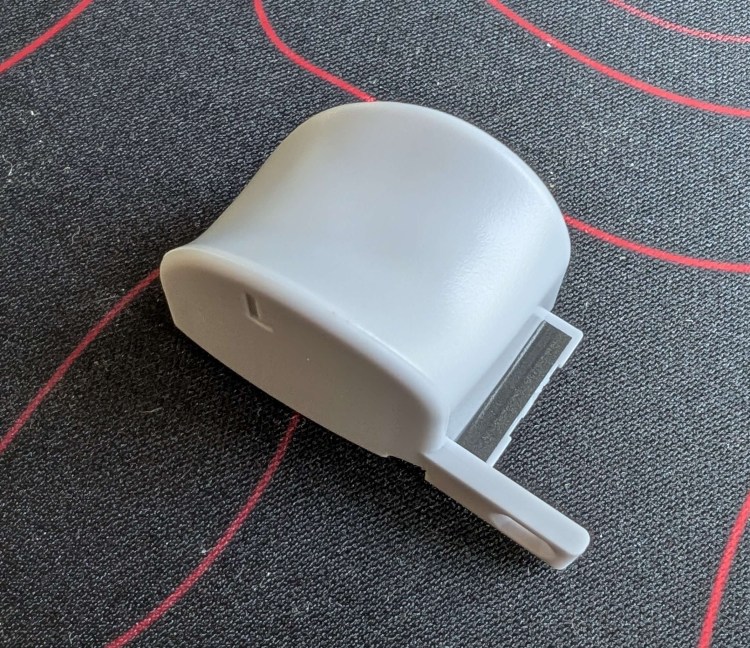
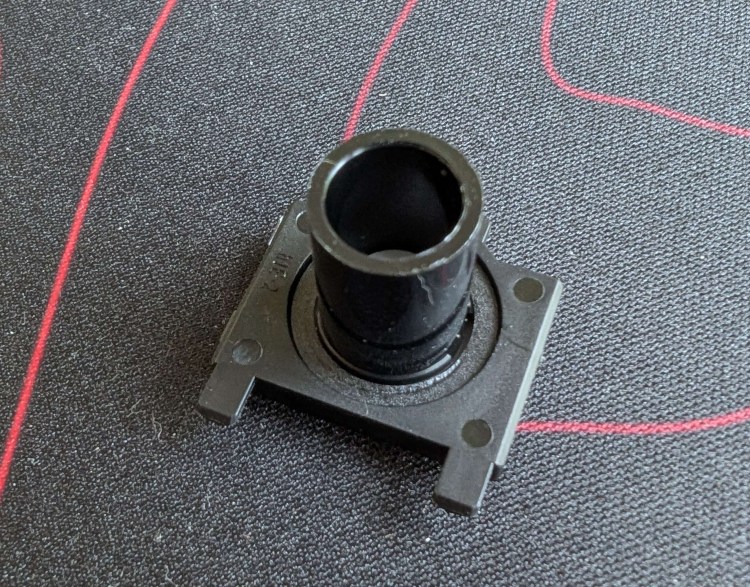
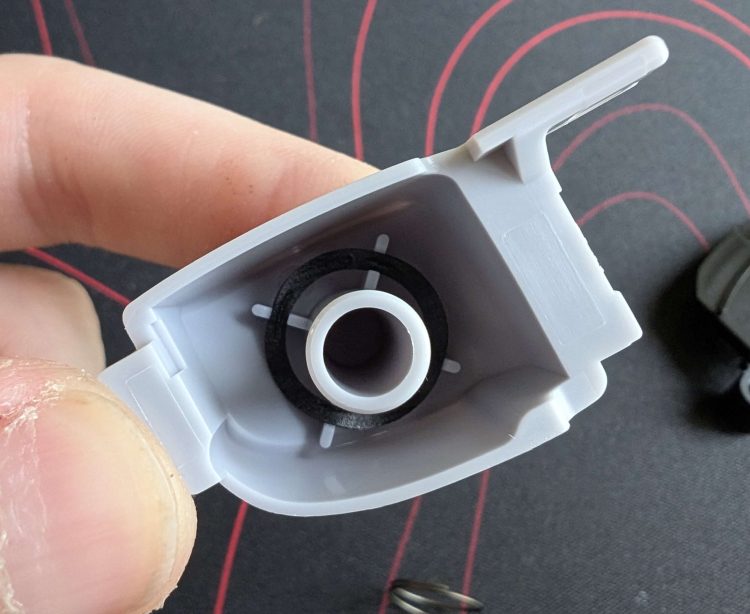
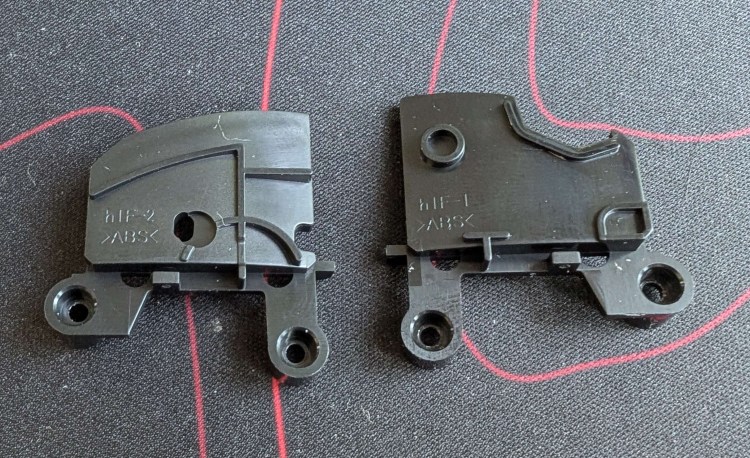
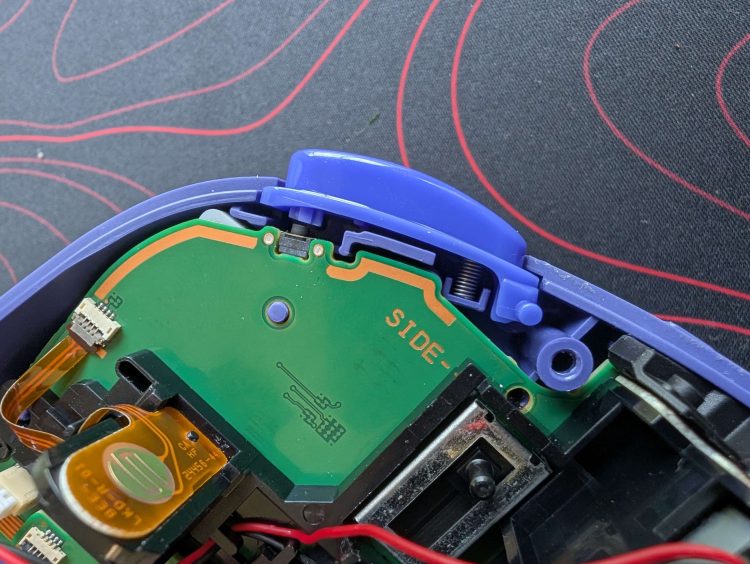
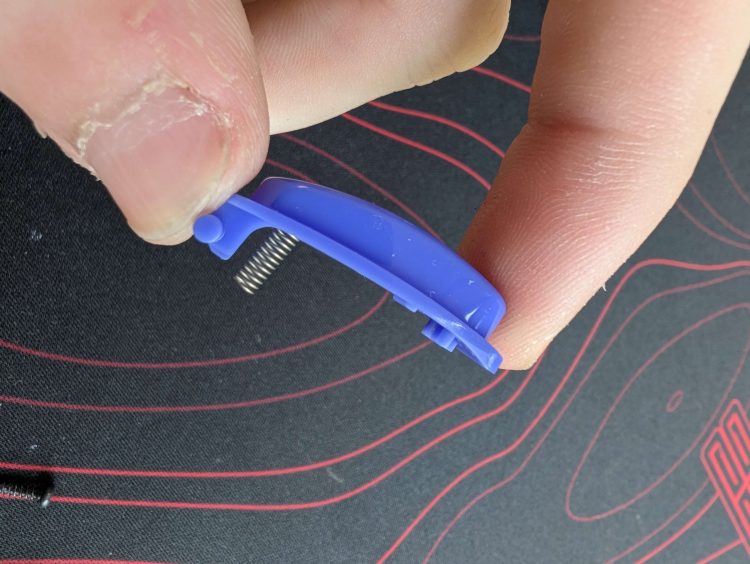
The third big change to the original is the Z button. It now uses a coil spring instead of the metal plate. You can also notice the new trigger button traces, it now uses a ribbon like the D-pad.
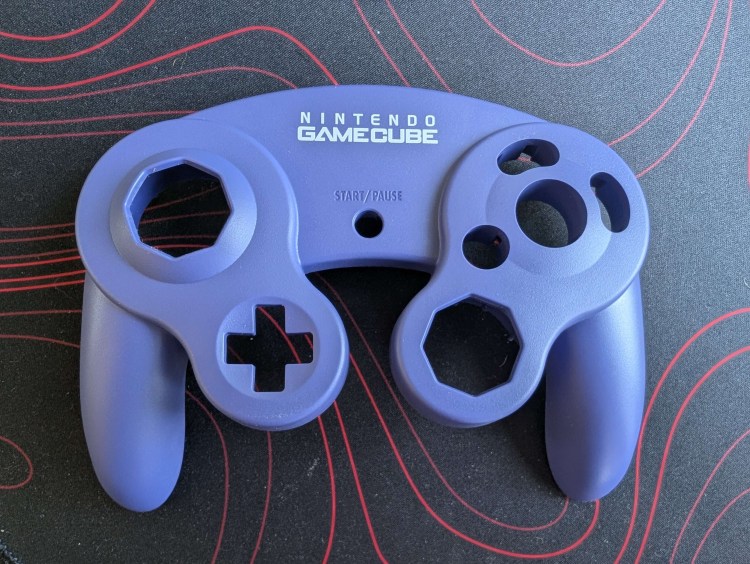
The shells were made from a redesigned mold to hold all the new components. It seems to be thicker than the original, and include a few extra supports.
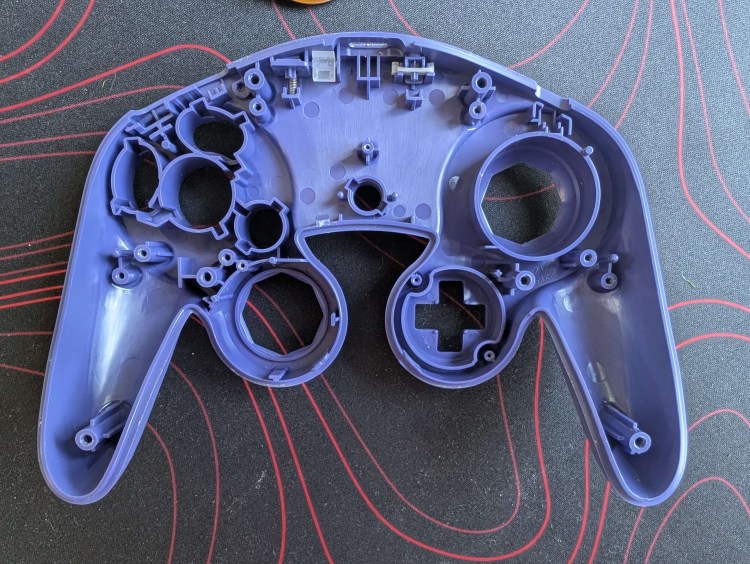
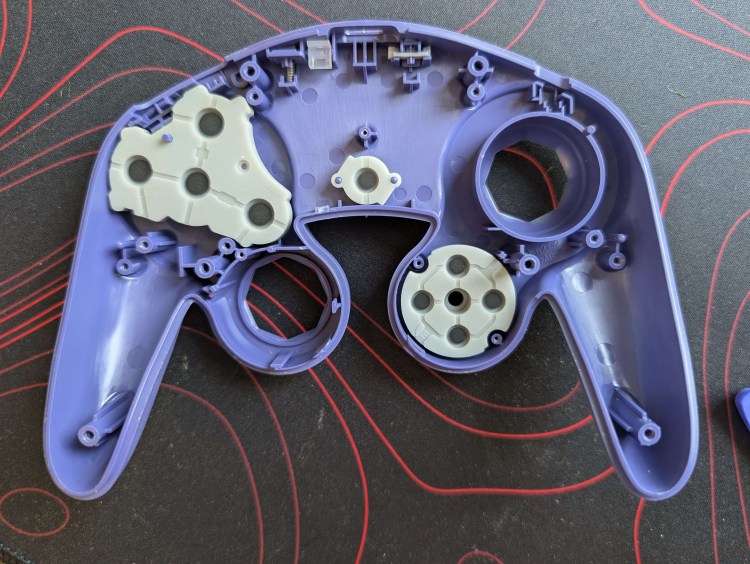
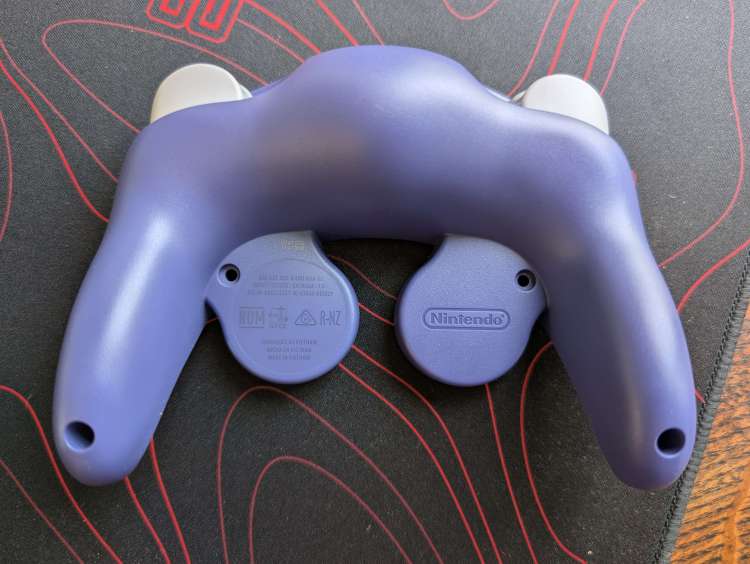
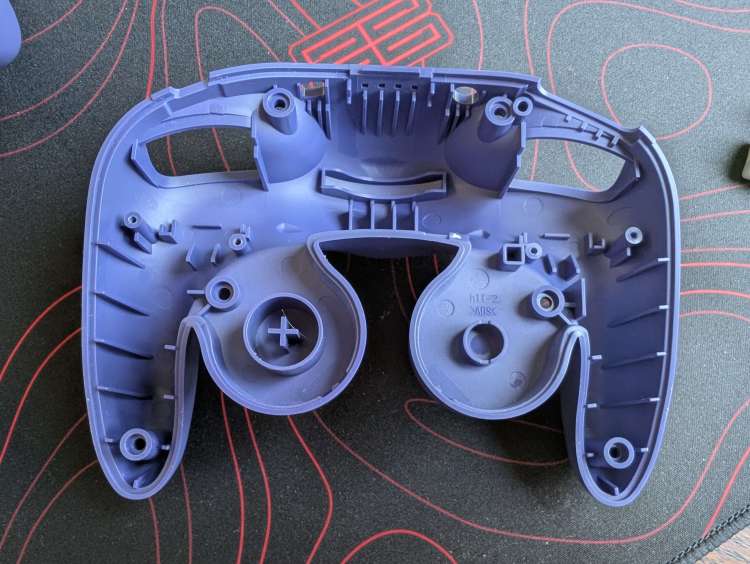
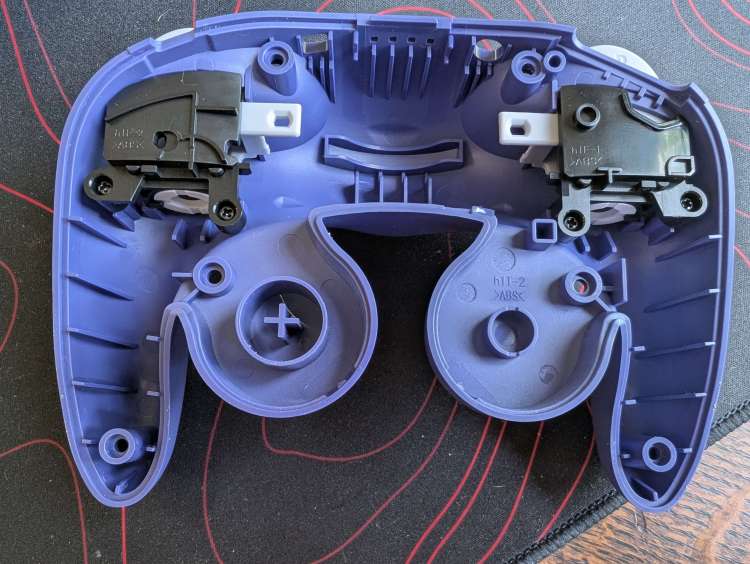
So what is cross-compatible with the original GameCube controller? The face buttons, so A, B, X, Y, Start. The Stickboxes and Stick caps. That’s about it I think. You get the original feel of the GameCube controller, wireless and with rumble and gyroscope. A cool controller with some extra features, including a long-needed fixed D-pad and extra Z button (I honestly would’ve prefered a bigger one but it’s something).
It’s a little bit too early to really compare the performance to the original, as it might interest Smash players and speedrunners. We’ll really have to wear it down a bit to see if there are any drift issues or triggers getting stuck and the likes. However, some members of the CGCC discord server pointed out that the snapback issue is still present. And since the internals of the controller changed so much, with the addition of a battery and bluetooth, we might come across some brand new technical issues, who knows?
So enjoy this slideshow with all the extra pictures down there.
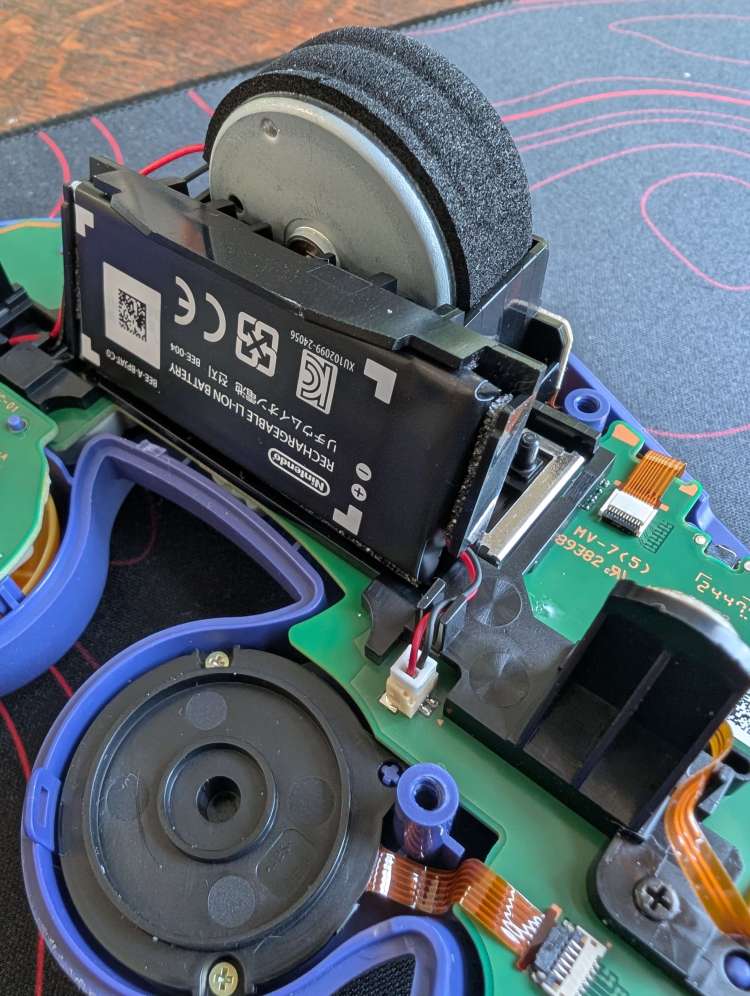
Better angle of the battery. 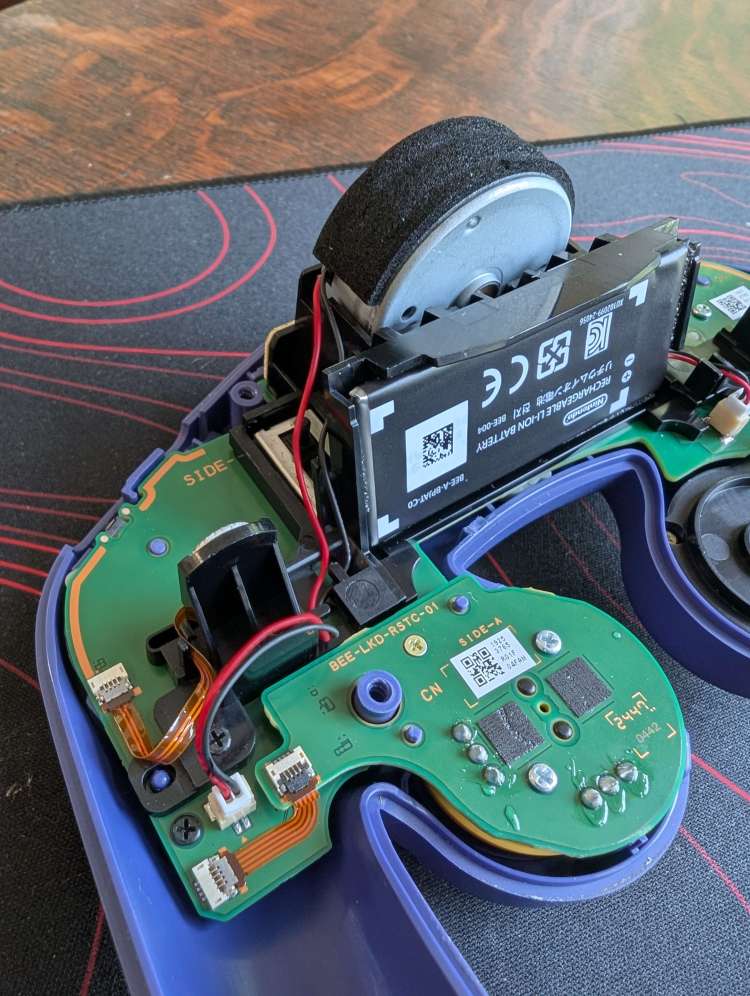
The rumble now connects of the left of the board with a connector. 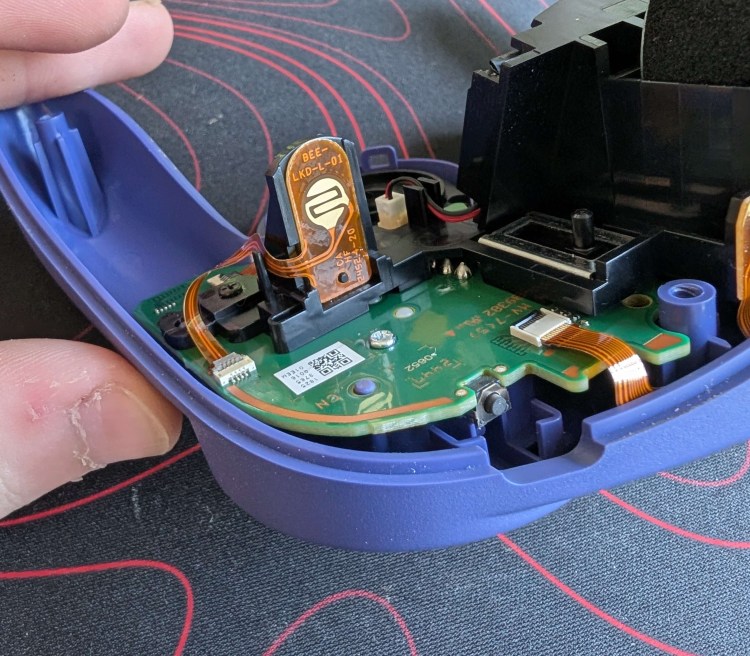
That’s the left Z button well. 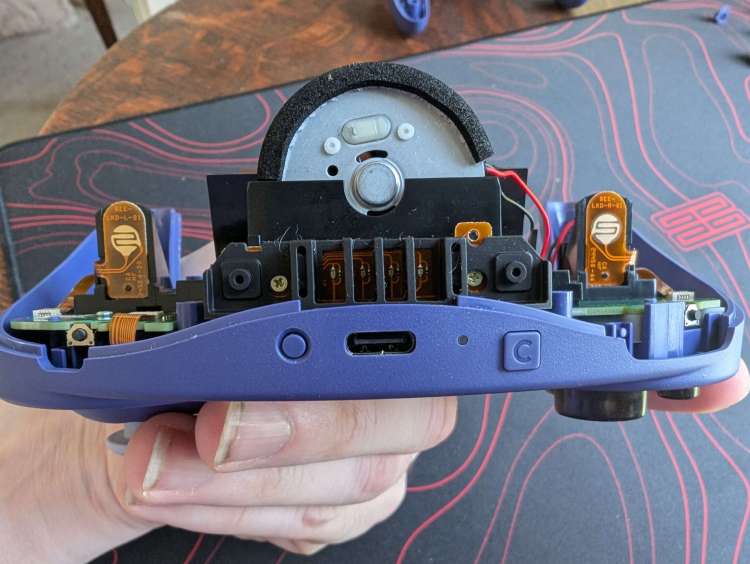
Top view of the thing with the new buttons and the antenna in between the plastic grills. 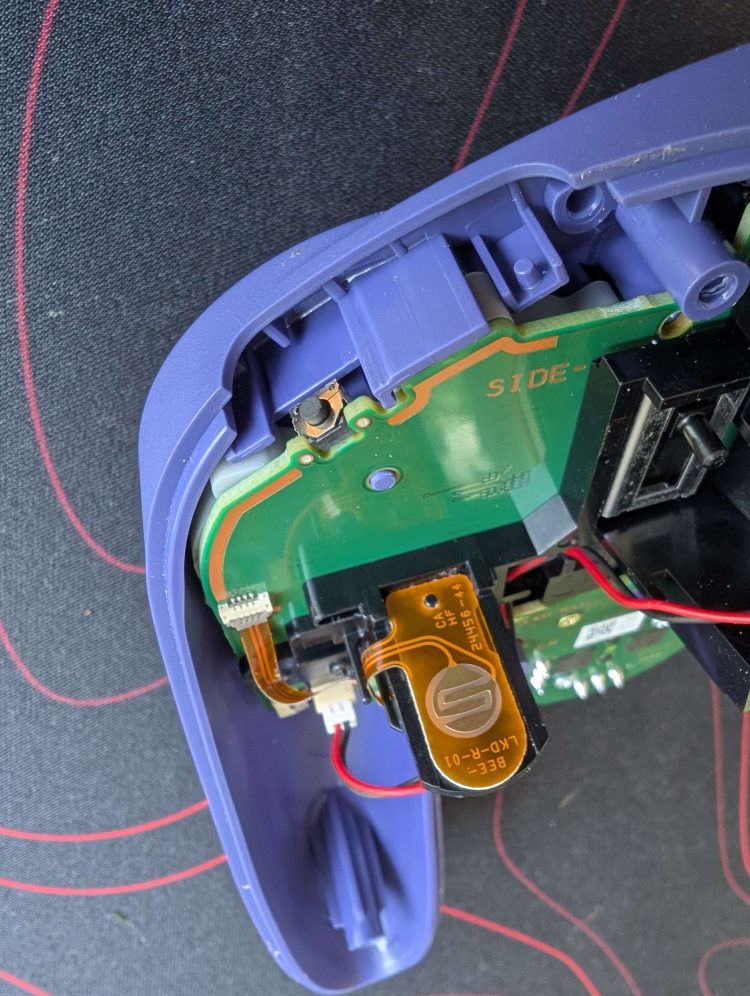
Z button well, with more supports. 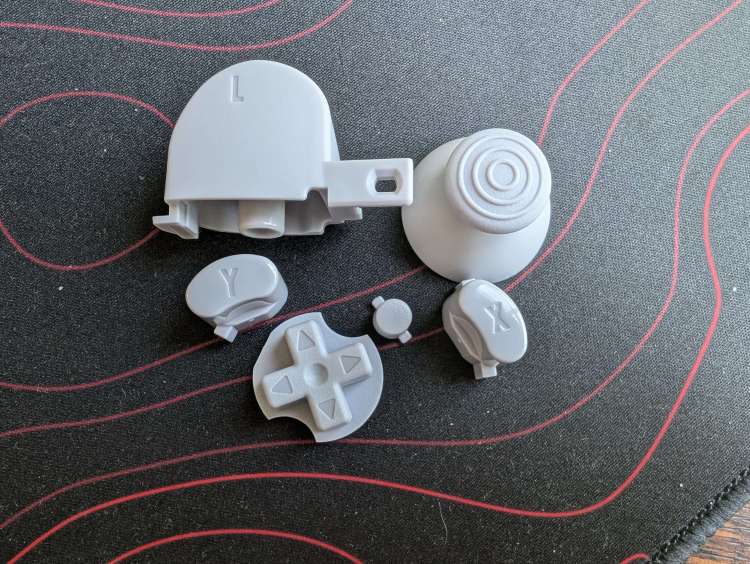
Family picture. 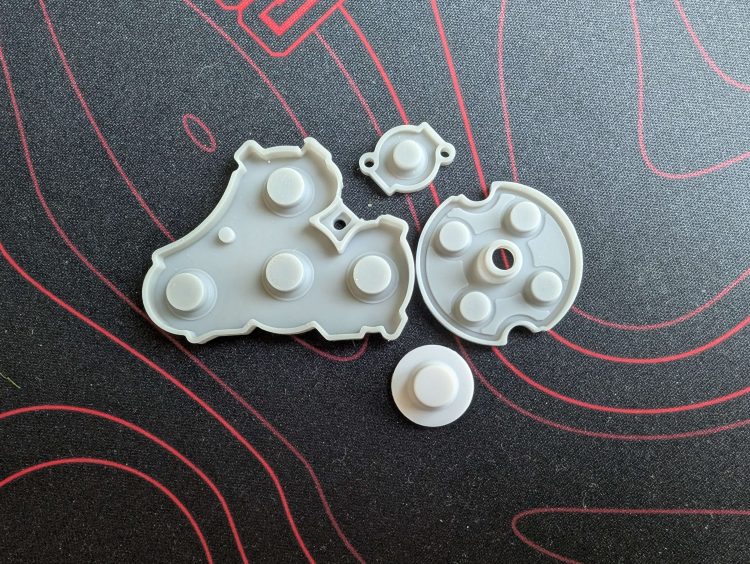
The rubber pads. 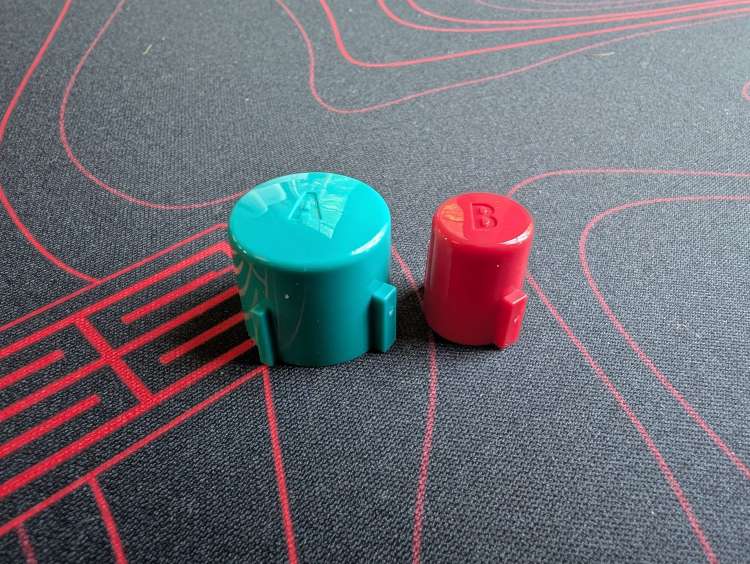
Unchanged A and B buttons. 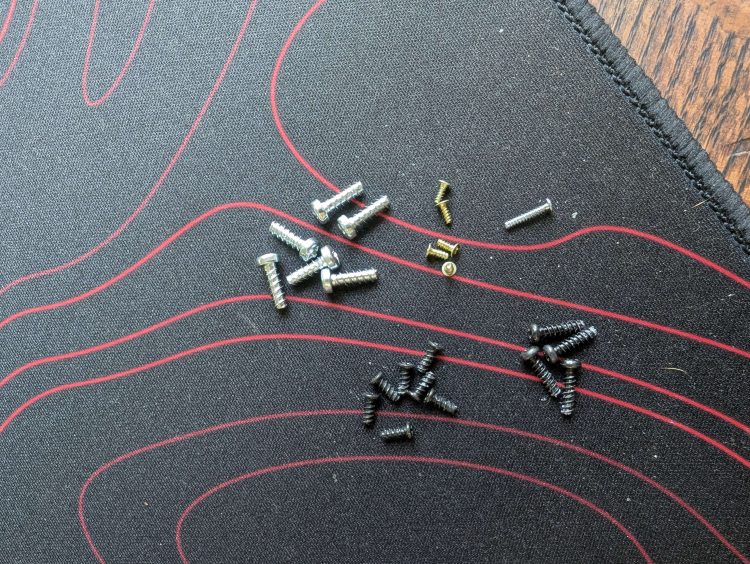
Screw hell.
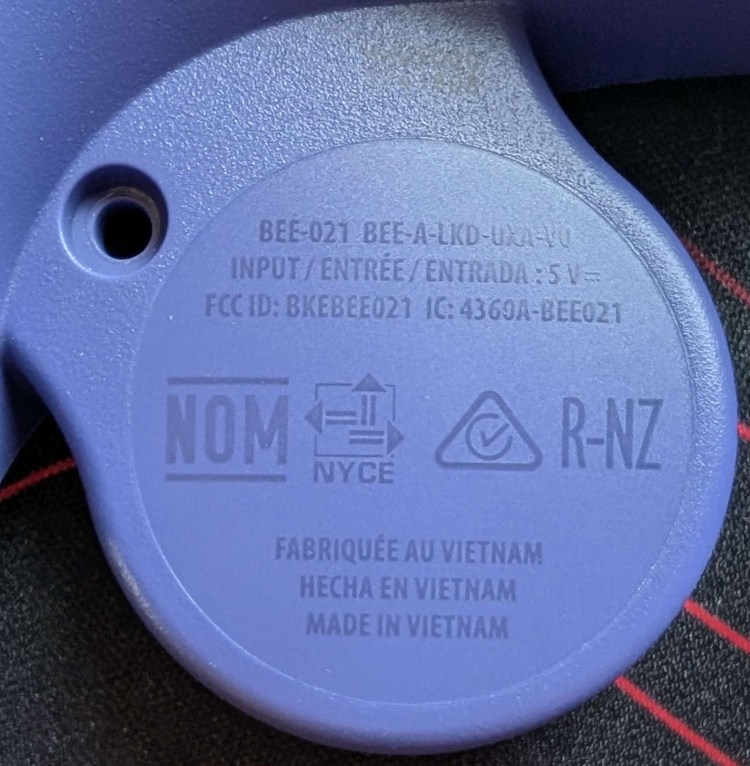
Oh and one last thing – The stamp on the back of the controller is different from the one shown in the advertisements. It says it’s made in Vietnam. Edit: It seems that the stamp varies by region. This one below is for the NA market, while another one I’ve seen from the UK have a different stamp. I’ll figure this out in due time.


thank you for this. i was planning on buying one but i have an original controller with a transparent back and i was hoping I’d be able to put it into the new one, but i guess its not possible. thank you so much for such a complete breakdown
LikeLike